最近有一个制作用户界面的任务,用了pyqt来完成,这里快速小结记录下。
时间紧任务重,我之前用得最多的是 pysimplegui,有丰富的gallery,稍微修改就能用,但是这个项目已经停了。如果要发布软件给别人用,可能会比较折腾。所以我就只有 pyqt 这个比较熟悉的框架可以用了。pyqt基于qt,历史悠久,功能丰富,性能强大且稳定,最重要的是资料很丰富,像 picasso,cellpose 提供的用户界面都是这个框架制作的,再加上大语言模型帮忙生成代码,估计用户界面开发的速度应该不至于太慢。
用户界面设计
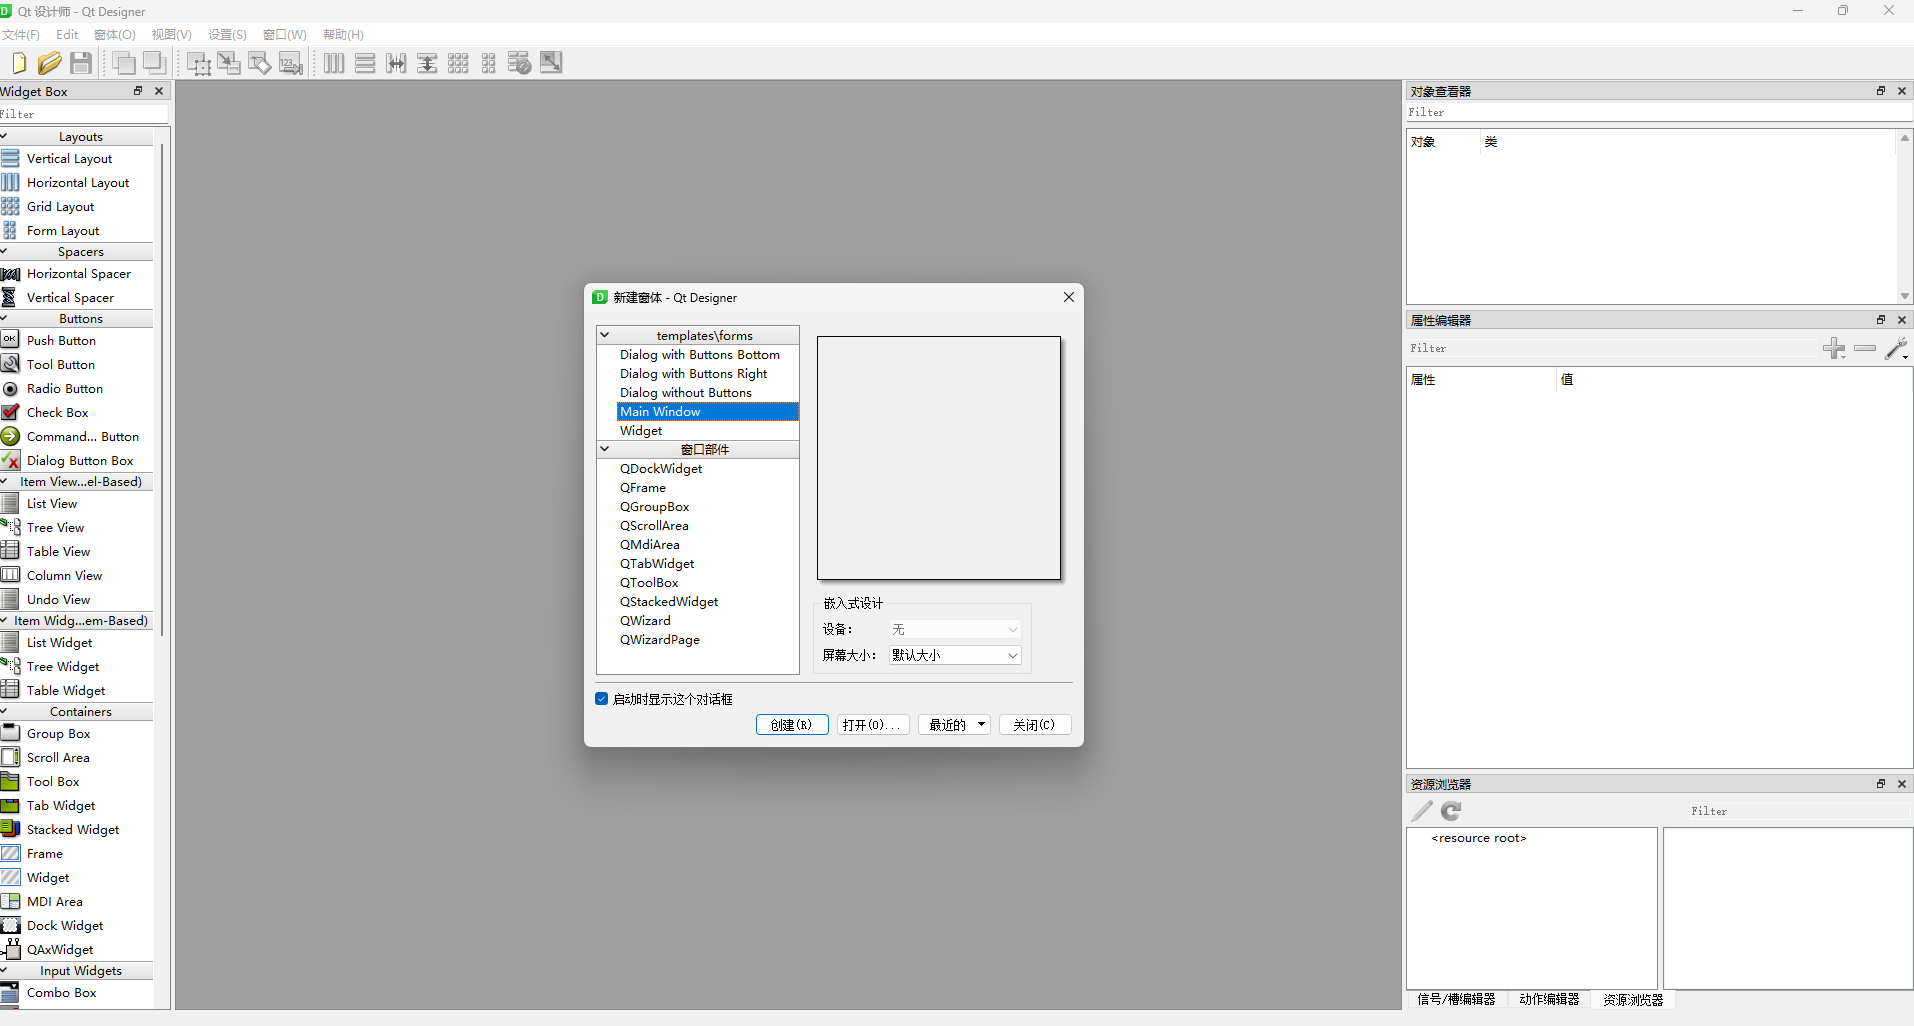
pyqt安装之后,通过everything可以找到一个designer.exe的工具,可以快速完成窗口控件(注意按规范命名objectName)和布局设计。

设计稿可以保存为后缀为 ui 的文件,然后需要在命令行中使用 pyuic5 转换为 python 文件,示例命令如下:
pyuic5 -o design.py design.ui
然后这个 design.py 中的内容不要进行任何修改,在另外一个 main.py 中 import 转换好的UI设计对象即可。
主程序的基本代码结构
这里相当于抽提出来一个简单的模板
from design import UI_MainWindow
from PyQt5 import QtCore, QtGui, QtWidgets
from PyQt5.QtWidgets import *

class MyWindow(QMainWindow):
    # 主窗口类
    def __init__(self):
        super().__init__()
        # 应用主窗口设计
        self.ui = Ui_MainWindow()
        self.ui.setupUi(self)
        # 连接槽函数
        self.connectAction()

    def connectAction(self):
        # 菜单之类的都可以有一个 triggered 的状态,然后这些状态可以和槽函数连接起来
        self.ui.actionOpen.triggered.connect(self.open)
        # 按钮都有clicked的状态,可以与槽函数连接
        self.ui.btn_process.clicked.connect(self.process)
        # 滑块控件有valueChanged的状态
        self.ui.slider.valueChanged.connect(self.slice)

    # ------- 定义槽函数 ------ #
    def open(self):
        pass

if __name__=='__main__':
   app = QApplication(sys.argv)
   window = MyWindow()
   window.show()
   sys.exit(app.exec_())
子窗口的接入方式
本次任务中,有一个按钮点击后要打开一个子窗口进行操作。这里涉及到一些继承。一般的子窗口同样可以使用designer设计。
pyuic5 -o dialog.py dialog.ui
from dialog import Ui_QDialog

class MyChildWindow(QDialog):
    def __init__(self, parent=None):
        super(LineProfile, self).__init__(parent)
        self.ui = Ui_QDialog()
        self.ui.setupUi(self)
        self.connectAction()

    def connectAction(self):
        # 类似地把UI中的各种信号按钮和槽函数连接起来
        pass

    def func(self):
        # do something, if finished, close
        self.close()
可以看到子窗口中可以在初始化的时候,指定 parent。具体在主窗口的槽函数中可以这样定义:
def open(self):
    self.dialog_window = MyChildWindow(self)
    self.dialog_window.exec_()  # 阻塞
    # self.dialog_window.show()  # 非阻塞
自定义窗口样式
本次任务中还是涉及一个窗口需要在显示的图片上绘制线段。这种窗口感觉在 designer 中无法直接弄,因为有些鼠标事件需要重新定义。
class DrawingView(QGraphicsView):
    def __init__(self, crops_dir):
        super().__init__()
        self.crops_dir = crops_dir
        fp = os.path.join(crops_dir, 'avg.tif')
        self.pixmap = QPixmap(fp)
        self.scene = QGraphicsScene(self)
        self.setScene(self.scene)
        self.start_point = None  # 存储线段起点
        self.end_point = None   # 存储线段终点
        self.temp_line = None   # 临时线段项
        self.is_dragging = False  # 拖拽标志
        self.display_average_particle()

    def display_average_particle(self):
        self.scene.clear()
        self.scene.addPixmap(self.pixmap)
        self.fitInView(self.scene.itemsBoundingRect(), Qt.KeepAspectRatio)

    def mousePressEvent(self, event):
        if event.button() == Qt.LeftButton:
            self.clear_temp_line()
            pos = self.mapToScene(event.pos())
            # 判断是否有线段在拖拽中,若有则重置
            if self.is_dragging:
                self.cancel_dragging()
            # 记录起点并开始拖拽
            self.start_point = QPointF(pos)
            pen = QPen(Qt.yellow, 2)
            self.temp_line = self.scene.addLine(
                self.start_point.x(),
                self.start_point.y(),
                self.start_point.x(),
                self.start_point.y(),
                pen)
            self.is_dragging = True

    def mouseMoveEvent(self, event):
        if event.buttons() and Qt.LeftButton and self.is_dragging:
            pos = self.mapToScene(event.pos())
            # 更新终点
            self.end_point = QPointF(pos)
            # 更新线段的坐标
            pen = QPen(Qt.yellow, 2)
            self.temp_line.setPen(pen)
            self.temp_line.setLine(
                self.start_point.x(),
                self.start_point.y(),
                self.end_point.x(),
                self.end_point.y()
            )

    def mouseReleaseEvent(self, event):
        if event.button() == Qt.LeftButton and self.is_dragging:
            # 确认绘制
            pen = QPen(Qt.yellow, 2)
            self.temp_line.setPen(pen)
            self.is_dragging = False

    def reset_line(self):
        self.start_point = None
        self.end_point = None
        if self.temp_line:
            self.scene.removeItem(self.temp_line)
            self.temp_line = None
        self.display_average_particle()

    def accept_selection(self):
        if self.start_point and self.end_point:
            # print(f"Selected line coordinates: {self.start_point}, {self.end_point}")
            x1 = self.start_point.x()
            y1 = self.start_point.y()
            x2 = self.end_point.x()
            y2 = self.end_point.y()
            saveLineROI(self.crops_dir, x1, y1, x2, y2)
            self.parent().close()
        else:
            print("No selection made")

    def clear_temp_line(self):
        if self.temp_line is not None:
            self.scene.removeItem(self.temp_line)
            self.temp_line = None
这段代码95%是在Deepseek的帮助下完成的,反复迭代了几次,然后根据自己的需求做了少量修改。然而这个还只是一个UI,接下来还要一段代码装入子窗口:
class DRAW_ROI(QtWidgets.QDialog):
    def __init__(self, crops_dir, parent=None):
        super(DRAW_ROI, self).__init__(parent)
        self.view = DrawingView(crops_dir)
        self.setup_ui()

    def setup_ui(self):
        # 创建主窗口
        self.setWindowTitle("Draw line")
        # 创建垂直布局
        main_layout = QVBoxLayout()
        # 添加绘图视图到布局
        main_layout.addWidget(self.view)
        # 创建按钮布局
        button_layout = QHBoxLayout()
        # 创建 OK 和 Cancel 按钮
        self.ok_button = QPushButton("OK")
        self.cancel_button = QPushButton("Clear")
        # 将按钮添加到按钮布局
        button_layout.addWidget(self.ok_button)
        button_layout.addWidget(self.cancel_button)
        main_layout.addLayout(button_layout)
        self.setLayout(main_layout)
        # 连接按钮信号和槽函数
        self.ok_button.clicked.connect(self.view.accept_selection)
        self.cancel_button.clicked.connect(self.view.reset_line)

    def cancel_dragging(self):
        if self.is_dragging:
            self.start_point = None
            self.end_point = None
            if self.temp_line:
                self.scene.removeItem(self.temp_line)
                self.temp_line = None
            self.is_dragging = False
使用pyqt时需要对一些widget对象的方法进行重写,这个就难度很大,不过因为资料多,使用LLM大语言模型提供帮助效果其实还不错。

此处评论已关闭